Every year we go through the same scenario a lot of trade fares, sales expos, business meetings which all end with a bunch of business contacts in your pocket. How is it possible to enter all the data into MS Dynamics CRM without forgetting about single contact? Simply download our solution before the event and start scanning cards without need to carry them with you. This is an overview of how you can combine Microsoft Dynamics and our Business Card Reader to easily create and save new Leads or Contacts into your CRM system.
1) Install the Business Card Reader for MS Dynamics CRM + Create an Account
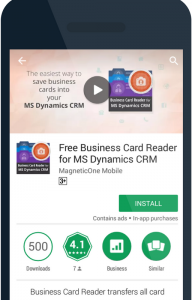
Go to the “Google Play” on your phone, download the Business Card Reader for MS Dynamics CRM for free. When you launch the app, you need to authorize using your Google Account.
2) Set up the integration with your MS Dynamics CRM
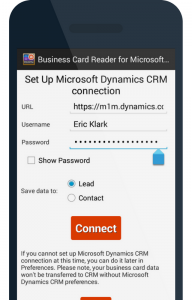
To set up the connection between the application and your CRM account you need to enter your web URL, username, and password that you use for the authorization with MS Dynamics 365 and click “Connect“.
Useful note: You can choose where to save contacts in “Lead” or “Contact” on the same wizard screen or do it later in “Preferences”.
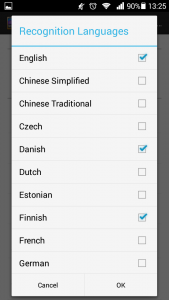
3) Choose the recognition language + Scan Business Card
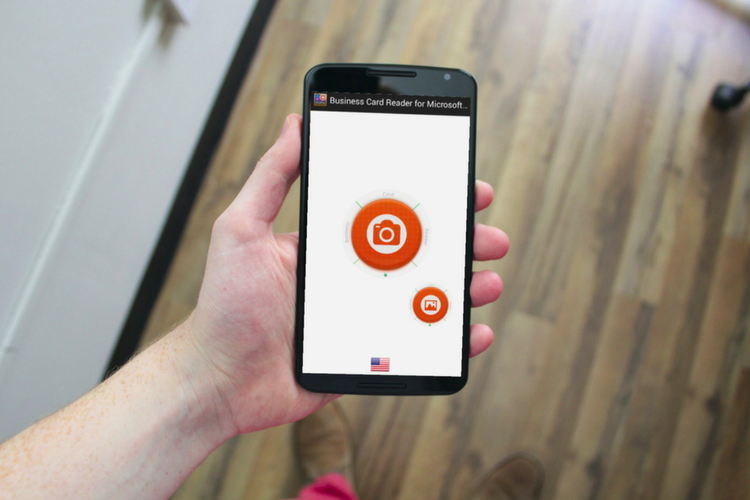
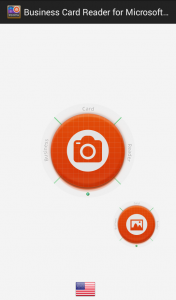
At the bottom of the wizard screen click on the “flag” icon, choose the recognition language and click “OK”. Useful hint! You can choose maximum 3 languages.You can recognize a business card by clicking the “Camera” icon or from the “Gallery” by clicking the “Image” icon below.
Important note: Prior to scanning don’t forget to check if you have a tick on “Upload Card Image” in “Preferences” menu if you want the image to be saved into your CRM directly!
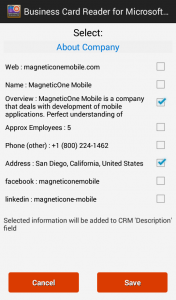
4) Check/Edit the scanned info + Enrichment
After you scan the business card info you are able to check the info plus insert new information. If you want to enrich data you need to click on “Get more” button. You can get additional person’s info: social network account, company name, department etc. You can choose from the list what data you want to add and click “Save”. All this information will be automatically added to your recognized info.

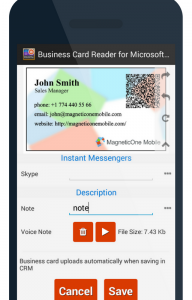
5) Add a note or a voice note
In case you have additional information you want to add you can make a note or record a voice note. Pay attention: The note will be saved to your CRMWhen you add all data you want simply click “Save” data will be sent to the CRM.
6) Saved info + Business Card Image
You can check the scanned info in “Leads” or “Contacts”. There you can choose the scanned person’s info. In the “Note“, you can find the link to the scanned business card.
If you have any questions or need assistance, please feel free to email us from the application “Preferences” => “Support Request“.
Leave a Reply
You must be logged in to post a comment.